You do have to contact us to order our Soudough Starter.
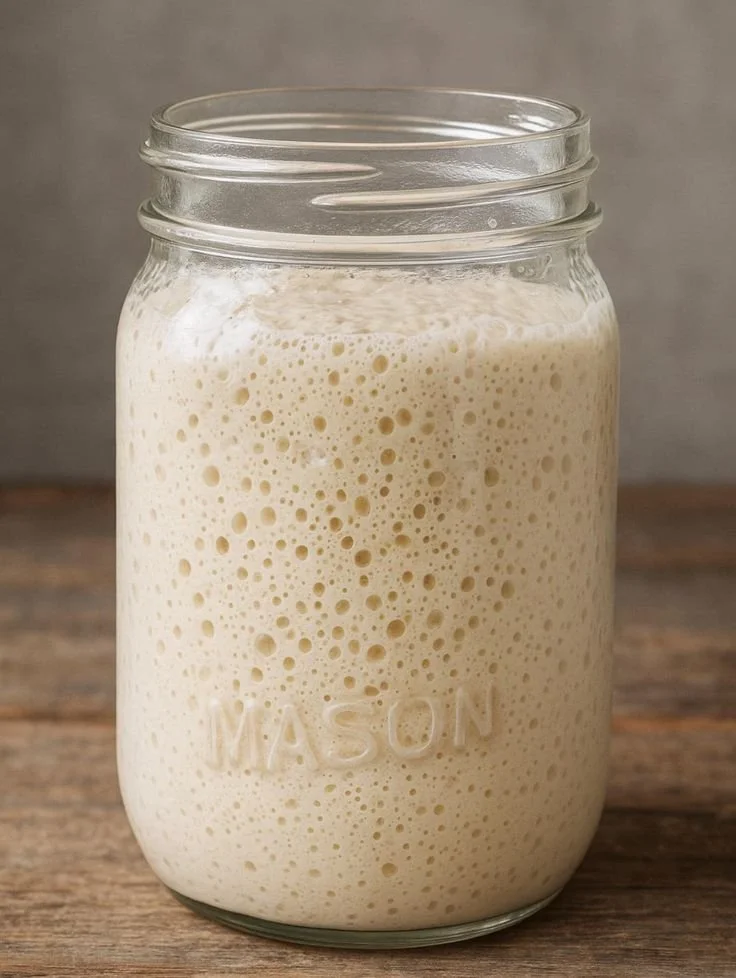
At Delili Grain Co., every loaf begins with our beloved sourdough starter, a living piece of our kitchen that’s been nurtured and cared for over time. Now, you can bring that same tradition into your own home.
Our ready-to-use sourdough starter lets you skip the waiting and dive straight into the magic of homemade bread. Pick up active, healthy, and ready for you to feed, shape, and make your own.
Storage
Refrigerator: Keep it in the refrigerator and it’ll last up to two weeks without feeding.
Counter: If you keep it on the counter, you’ll need to feed it daily to keep it happy and bubbly.
Feeding Basics
A good place to start is a 1:1:1 ratio. Equal parts starter, flour, and water. But here’s the truth: everyone does it a little differently. You’ll read a hundred opinions, and that’s okay. This ratio is just a guide, a place to begin.
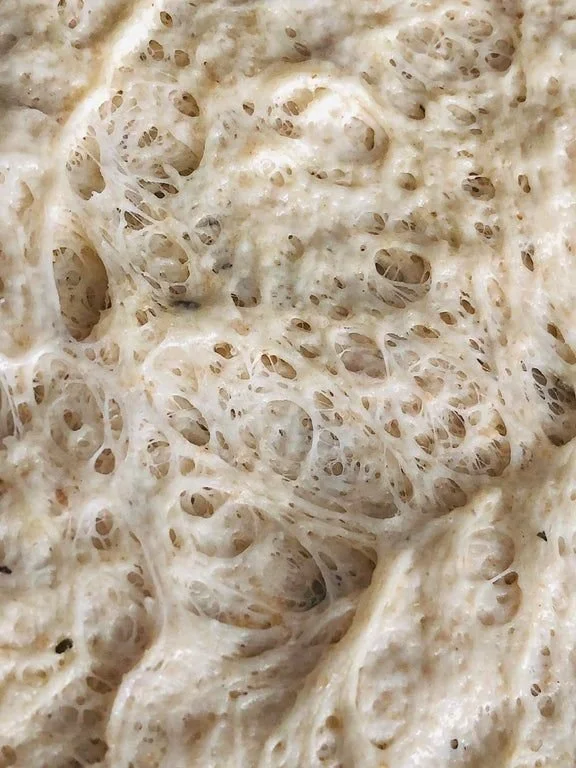
As you bake, you’ll start to recognize what your starter likes best. Mine, for example, is a little thicker than most, I go by feel instead of measurement. I look for that smooth, stretchy consistency that just feels right.
The more you bake, the more you’ll find your own rhythm. That’s the beauty of sourdough, it becomes a living reflection of you and your kitchen.
A Note for Beginners
There are endless sourdough recipes out there, and everyone swears theirs is “the one.” We encourage you to explore, experiment, and see what speaks to you.
If you’re looking for a simple place to start, here’s an easy beginner’s loaf to try:
Basic Sourdough Loaf
Ingredients
150g bubbly, active sourdough starter
250g warm water
25g olive oil
500g bread flour (not all-purpose)
10g fine sea salt
Parchment paper
Tip: For best results, weigh your ingredients using a digital scale. Because measuring cups vary in size and shape, they’re not accurate for bread baking.
Make the Dough
In a large bowl, add the sourdough starter, water, and olive oil. Mix with a fork to combine.
Add the flour and salt. Continue mixing until the dough becomes stiff, then use your hands to bring it together. It will be dry and shaggy.
Cover the bowl with plastic wrap or a damp towel and let rest for 1 hour. Then, return to the bowl and shape the dough into a rough ball (about 15 seconds).
Bulk Rise
Cover the bowl and let rest in a warm spot (70–75°F) until it no longer looks dense and has almost doubled in size.
During bulk rise, perform a series of stretch & folds every 30 minutes to strengthen the dough. To do this: gather a portion of the dough, stretch it upwards, then fold it over itself. Rotate the bowl ¼ turn and repeat until you’ve come full circle.
Shape the Dough
Turn the dough onto a lightly floured surface, no need to punch it down. It will gently deflate as you fold and shape it.
To shape: starting at the top, fold the dough toward the center, turning slightly with each fold until you’ve gone full circle. Flip the dough seam side down and gently rotate or pull it toward you to even out the shape.
Second Rise
Place the dough in a proofing basket or bowl lined with a towel and refrigerate overnight.
Score the Dough
Right before baking, make a shallow slash (2–3 inches long) in the center using a bread lame, razor blade, or sharp knife, about ¼-inch deep.
Bake the Dough
Preheat your oven to 400°F with your Dutch oven inside. This takes 30–60 minutes.
Line the Dutch oven with parchment paper and place your dough inside.
Bake covered for 30 minutes, then uncovered for 20 minutes more.
Tip: Every oven is different you might need slight adjustments. For doneness, the internal temperature should read 205–210°F.
Remove the bread from the oven and cool on a wire rack for at least an hour before slicing. Cutting too soon can cause a damp, gummy texture inside.